This month we continue with suggestions on how best to handle finesse situations.
1. When you have a two-way finesse available in the trump suit, it may be right not to finesse either way!
| |||
|
| ||
| |||
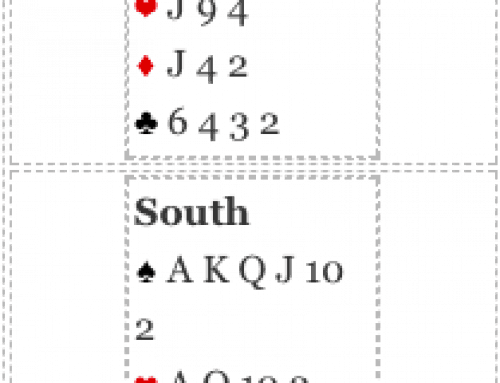
2.. If the opponents lead through an honor combination in the dummy opposite a void in your hand, take advantage of the opportunity for a free finesse.
Dummy A K J 10 A K J 10 3 2 3 2 K J 7 K J 7 K J 9 8 K J 9 8 | You — A Q 5 4 Q 10 8 A Q 10 4 3 2 |
You arrive at six clubs and West leads a spade. Play the jack. If East covers, ruff and later pitch three hearts on your established spades. If the jack holds, you still get three pitches. If the dummy had ace-king-jack-small in spades, it is still right to play the jack. If it is covered, fall back on the heart finesse.
3. When you have a nine-card trump suit and one opponent has preempted, play the preemptor’s partner for the queen.
4. If the bidding tells you that a finesse can’t possibly work, don’t take it. Play for the drop instead.
| Dummy A Q 3 2 Q J K J 10 5 2 10 2 | You J 10 7 6 5 4 K 9 A Q 4 Q J |
After West passes originally, you become declarer at four spades. West leads the king and ace of clubs and then the ace and another heart. West has shown 11 high card points, so he can’t have the spade king – he would have opened the bidding with 14 points. So cash the ace. On a good day the king will fall from East.
5. If the entry situation to the long suit is acute, don’t waste entries by taking a risky finesse.
| Dummy 7 3 A K 7 10 9 6 5 4 3 6 5 | You A K 8 5 3 2 A Q 2 A K 4 3 |
You are playing three notrump and the opening lead is the club deuce. You want to set up diamonds of course. Don’t risk a finesse – you may wind up with no entry to dummy if the diamonds don’t lay well. Just cash the ace and continue with the queen. The opponents can set up two club tricks if you have to lose two diamond tricks, but you still have nine tricks because you still have an entry to dummy.
6. Even though a simple finesse in one suit (50%) offers a better chance for an extra trick than playing for a 3-3 break in another suit (36%), the best idea is to combine both plays (68%).
| Dummy Q J 3 4 3 A 8 7 6 A K 3 2 | You A K 4 A K J K 3 2 Q J 5 4 |
The opening lead against your six notrump contract is the spade 10. You have 11 top tricks with a chance for twelve in either diamonds (3-3) or hearts (finesse). Try both!
Duck a diamond. When you regain the lead, test the diamonds. If they are not 3-3, fall back on the heart finesse. If you take the heart finesse first (a kindergarten play) and it loses, you cannot gain with the diamonds even if they’re 3-3.
Join us again next month for more tips on how to handle finesse situations.

Leave A Comment